Add Row
Add Element
cropper
update
Auto Care Daily
update
Add Element
  • Home
  • Categories
    • Maintenance
    • Repairs
    • Diagnostics
    • Safety
    • Tips
    • Troubleshooting
    • Car Buying Tips
    • Extra News
  • Business Directory
April 16.2025
3 Minutes Read

7 Simple DIY Methods to Reset Your Check Engine Light at Home

Close-up of a car dashboard with glowing check engine light, showcasing DIY car repair tips.


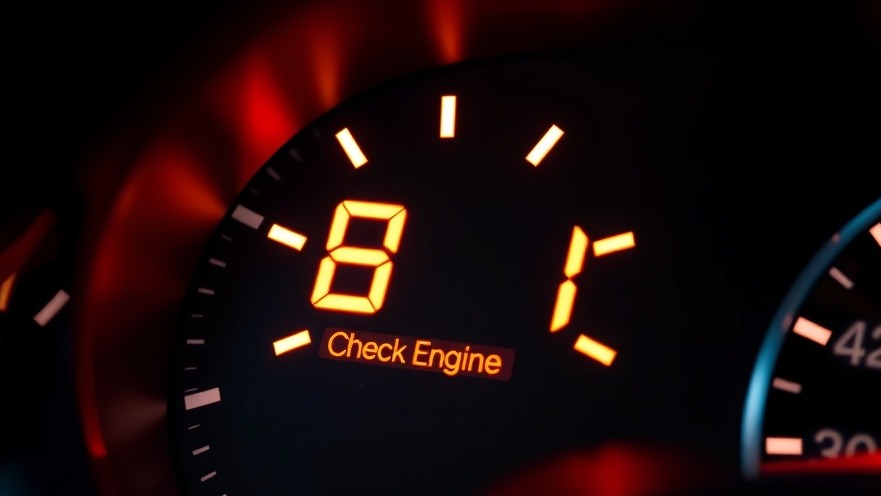
Understanding Your Check Engine Light: What It Means

Seeing your car's check engine light can be alarming, but it’s important not to panic. This small, engine-shaped light is a way for your vehicle to communicate that something needs attention. It's similar to getting a reminder for a regular health check-up; sometimes it’s nothing serious, while at other times, it signals a bigger issue needing immediate attention.


In the video 'How To Reset Your Check Engine Light (7 Simple DIY Methods)', the host delves into practical solutions for addressing this common car issue, leading us to explore these insights further.

Common Reasons the Light Turns On

When that light illuminates, it can often be due to simple issues like a loose gas cap, a faulty spark plug, or an oxygen sensor malfunction. While it might be tempting to ignore the light, especially if the car seems to be running fine, it’s prudent to investigate promptly to prevent further complications. Ignoring a persistent check engine light could lead to expensive repairs down the road.

Seven Simple Methods to Reset Your Check Engine Light

If you’re unsure about what’s causing the light, here are some DIY tricks to reset it:

  1. Turn the Ignition On and Off: One common fix is to turn your car's ignition on and off three times. After doing this, start the car; if the issue was minor, the light should turn off.

  2. Check the Gas Cap: Ensure the gas cap is securely fastened. A loose cap can cause vapor leaks, triggering the light.

  3. Reset the ECU Fuse: For older cars, locating and removing the engine control unit fuse can sometimes reset the light.

  4. Let Time Pass: Sometimes, simply driving the car for a few days allows the computer to run self-checks and turn the light off on its own.

  5. ECM Hard Reset Technique: Disconnecting the battery can reset the vehicle’s computer, but be aware that it can also erase your saved settings.

  6. Use an OBD Scanner: For those with a scanner, connect it to the OBD port and clear the check engine codes.

  7. Complete a Drive Cycle: This involves specific driving conditions that help in resolving the issue and possibly turning the light off.

Why Turning Off the Light Doesn’t Solve the Problem

While it may be tempting to just reset the check engine light, remember that doing so doesn’t fix the underlying issue that caused it to light up in the first place. If your engine has serious problems, like a misfire or a leak, these won’t go away just because you've turned the light off. Identifying and addressing the root cause is essential for maintaining your vehicle's health.

When to Call a Professional

If the light stays on after these DIY methods, it might be time to consult a professional mechanic. They have the tools and expertise to diagnose complex issues that go beyond simple resets. It’s better to be safe than sorry when it comes to your car's engine.

Stay Informed and Engaged with Your Vehicle

Understanding how to troubleshoot your car creates not just a better driving experience but also fosters a sense of empowerment as a vehicle owner. You can save time and potentially hundreds of dollars on maintenance costs. For those interested in more expert tips on car repairs and maintenance, be sure to stay tuned. Taking control of your vehicle's health leads to safer roads and superior driving experiences.


Troubleshooting

Write A Comment

*
*
Related Posts All Posts
08.16.2025

Essential Guide to Common Hummer H3 Problems from 2006-2010

Update Understanding the Top Issues with the Hummer H3 (2006-2010) The first-generation Hummer H3, produced from 2006 to 2010, has earned a reputation for durability and off-road capability. However, like all vehicles, it is not without its issues. Understanding these common problems can help owners maintain their cars more effectively and avoid costly repairs later on.In 'Top 5 Problems Hummer H3 SUV 2006-2010 1st Generation', the video explores significant issues faced by these vehicles, prompting us to analyze how owners can manage these concerns effectively. 1. Erratic Fuel Gauge: A Misleading Indicator One of the most frequently reported issues with the H3 is its erratic fuel gauge. Owners may find themselves confused as the gauge fluctuates from empty to full unpredictably. This problem is often related to the fuel module rather than an actual fuel issue. If you face this problem, consider checking and possibly replacing the fuel module. 2. Transmission Troubles: Shutter and Erratic Shifting Transmission issues are also prevalent in the H3 model. Many owners have experienced transmission shutter or erratic shifting, resulting from older GM transmission fluids. GM has shifted its recommended fluids over time; for first-generation H3s, the full synthetic Dexron VI is suggested. Regular fluid level checks, approximately every 50,000 to 60,000 miles, can help avoid significant transmission problems down the road. 3. Engine Codes: The 3.7L Engine’s Potential Failures When the check engine light appears with a code like P0300, it indicates a problem that should not be ignored. This could be a simple tune-up or a more serious issue with the 3.7-liter engine, such as injector problems or valve seat issues. Regular diagnostics and addressing early warning signals can prevent expensive repairs, allowing you to keep your H3 in good health. 4. Power Reduction on Acceleration: The Throttle Actuator Problem Another common issue is a reduction in power during acceleration, often accompanied by the error code P2135. The problem typically resides in the throttle actuator, which can fail or have wiring issues. Be proactive and check the actuator and its wiring to ensure your vehicle maintains optimal performance. 5. Radiator Failures: Cracks at the Seam Lastly, radiator problems are not uncommon. The early models of the H3 typically have radiators that crack at the seams due to heat exposure. This can lead to coolant leaks, resulting in overheating if not addressed swiftly. Replacement radiators are available, and it’s recommended to keep an eye on your coolant levels to catch any leaks early on. Having a solid understanding of these top five problems associated with the 2006-2010 Hummer H3 can equip owners with the knowledge to address potential issues proactively. Regular maintenance checks and early diagnostics are key to keeping this rugged vehicle operating smoothly for years to come. For more detailed guidance on repairs, consider reaching out to local automotive service centers.

08.12.2025

Unveiling the Top 5 Problems with the Kia Sorento 2011-2015

Explore the common problems with Kia Sorento 2011-2015, including AC issues and brake light failures—essential knowledge for owners.

08.10.2025

Transform Your AC Today: Simple Tips to Fix Weak Air Conditioning

Learn how to perform simple DIY Car AC Maintenance to improve performance and save costs, including checking the cabin air filter and more.

Terms of Service

Privacy Policy

Core Modal Title

Sorry, no results found

You Might Find These Articles Interesting

T
Please Check Your Email
We Will Be Following Up Shortly
*
*
*